|
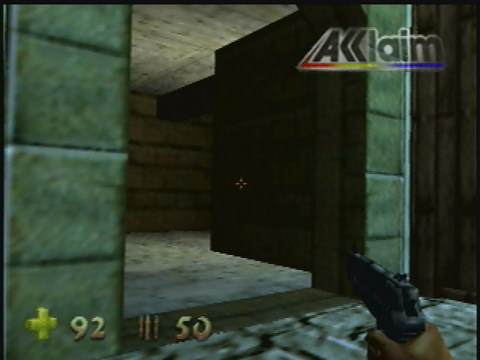
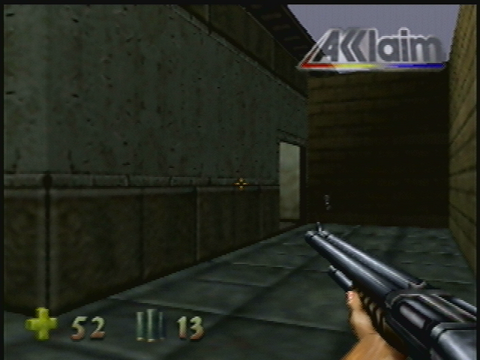
In the next area you'll head downwards towards some life force. An explosion behind a wall will reveal an enemy. There's an ammo difference there.
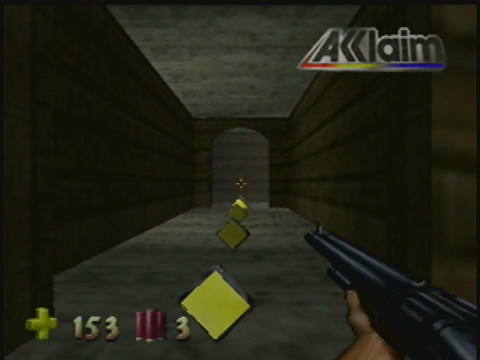
3 Pistol clips in the demo, 1 in the final.
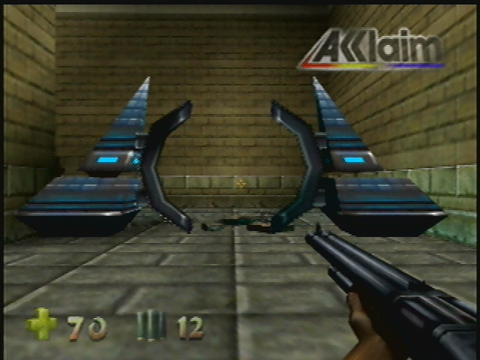
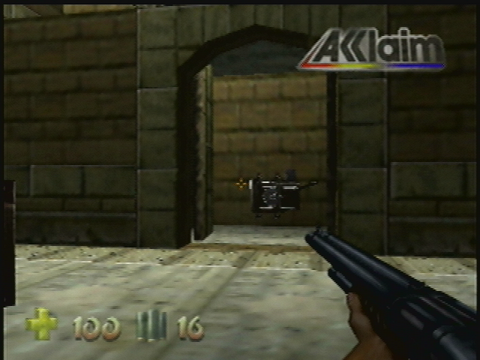
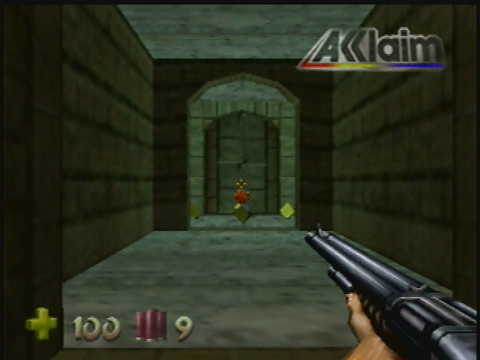
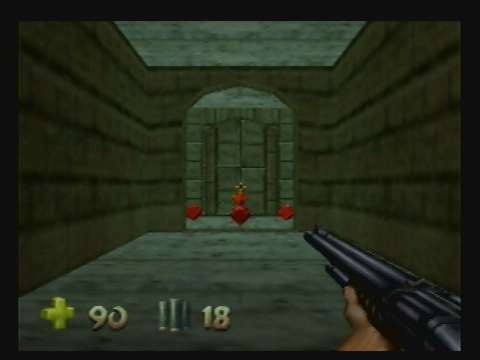
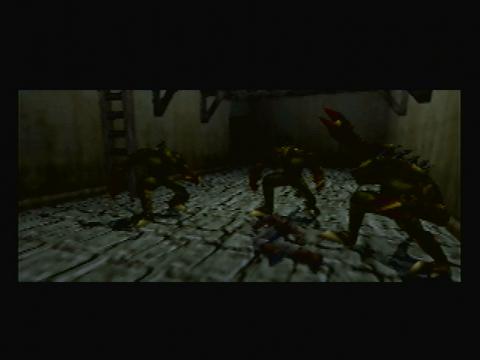
There will be several Endtrails to kill in the area. Once dead, jump on top of the roof and leap for the switch behind the building. This will open a door revealing a Raptor. Kill him and go to that newly opened area. There's two switches here. One reveals different pick-ups.
There's 20 health in the demo here. In the final version you'll instead find an ammo respawning spot. Also when you open this door, you're attacked by a Raptor in the final version and a Raptoid in the demo.
There's another switch next to the respawning spot which will open another door in the area. It reveals several Raptoids. Kill them, and after that climb up the crates. There will be another switch which will open a secret passage way. Take that passage as it leads to the last child.
The room with the last child is more straightforward than it looks. Just kill an Endtrail and move on. There aren't many of them. I've noticed one extra 10 health pick-up here.

That 10 health is only in the final version.
When you find the switch to the childs cage and rescue the child, you may get different text.
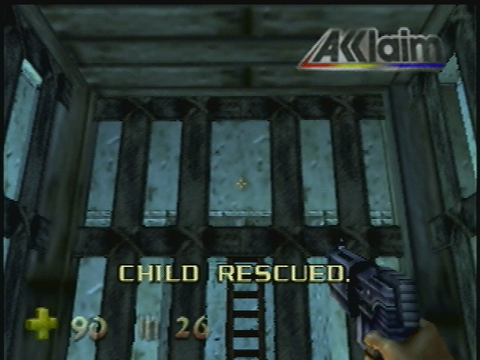
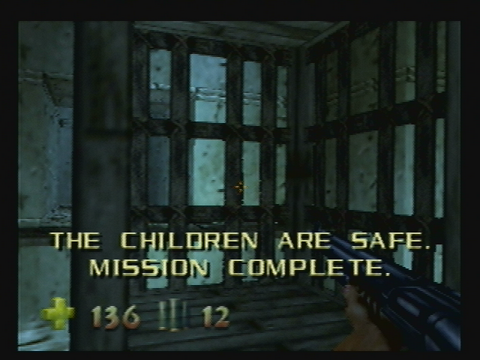
In the final version Adon will say "Child Rescued" and the text will say "The Children Are Safe. Mission Complete." The final version will always say this if this is the last child you rescued. If the demo glitched earlier, than rescuing this child will be the exact same as rescuing the first or second child. If not, than it will count as rescuing the last child like it's supposed to.
There's no way out of the child room besides a teleporter. No this area isn't over yet, it just leads you back outside. There's an extra red life force nearby in the demo.
Both versions have red life force hidden between the crates on the right, but the demo has a second one on the left.
Once you've collected any red life force, head to the tunnel you opened earlier. It's the one where several Raptoids came out. It'll lead you to an Endtrail and a switch. Go for the switch once the Endtrail is dead. The switch opens a big door with two Raptoids behind it. You know what to do. This next area has a couple more ammo differences.
The final version has 5 arrows and the demo has nothing here.
This Pistol clip has changed places.
There isn't much left to do here. There's an upwards path leading to an Endtrail who's guarding a switch. Once he's outta the way, hit the switch and take the exit. Your life force count is up to 578 in the final version and 351 in the demo. For the first time the demo actually had more life force in an area.
The last few areas have been rather short and this one is as well. From the spot where you start, follow the tunnel. When the door opens on the other end you'll be attacked by an Endtrail.
Only in the final version that is.
To the right you'll see a life force difference.
There's 5 life force in the demo. This is the only life force till the next teleporter so once again the demo will get more life force in one area than the final version.
This area is home to yet another Check Point in the demo.
This is the 3rd Check Point so far.
Once you go through the Check Point, or where the Check Point would be, you'll reach a switch. Once you hit the switch, a large door will open revealing two Raptoids. There's an Endtrail patrolling the area as well. In the corner you'll find more ammo placement changes.
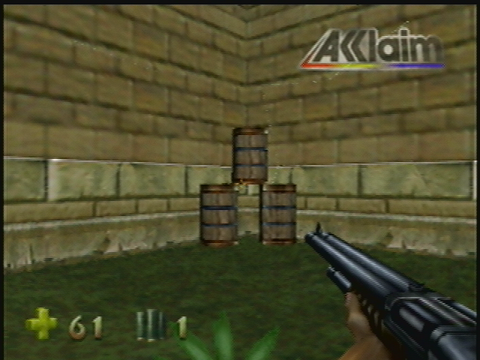
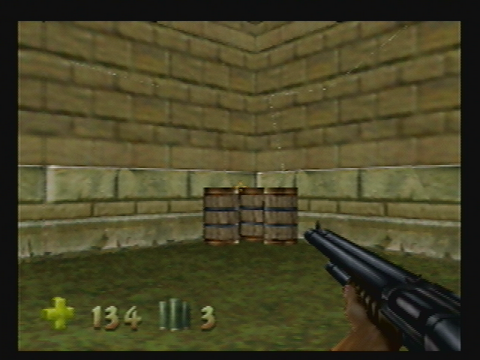
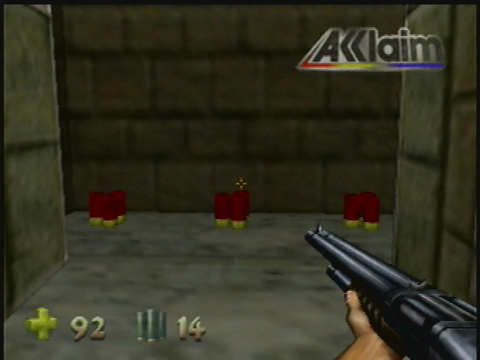
But first, the barrels are stacked in the demo. There's no other stacked barrels in this level from either version. Shooting them will destroy 3 parts of the wall each revealing something.
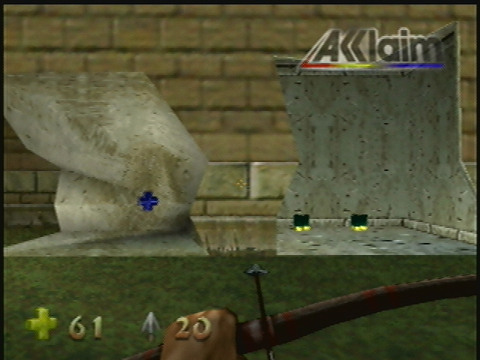
In the final version there will be 3 Shotgun shells to the left, and 20 health in the middle. The demo has 10 health to the left and 6 Shotgun shells in the middle. Both versions will have 20 Pistol bullets on the right. There's several Pistol clips in the area so you'll have plenty of ammo. Getting extra health is more useful.
There's another minor ammo change nearby.
Arrows in the final version and Pistol bullets in the demo. Excitement.
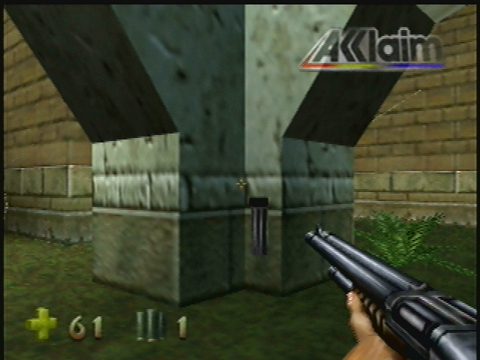
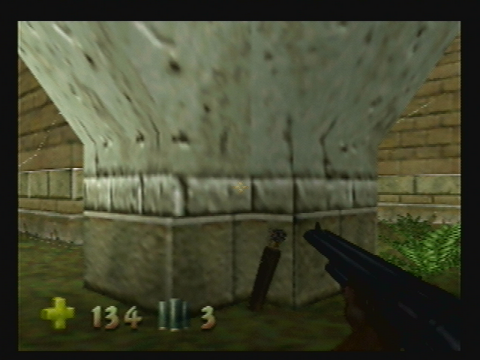
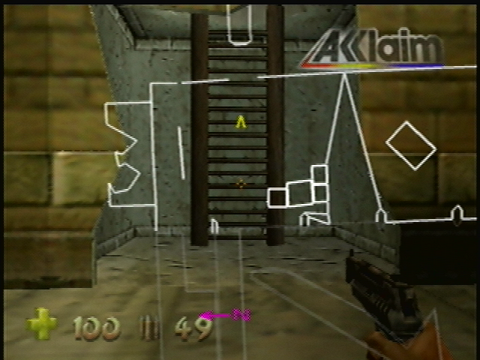
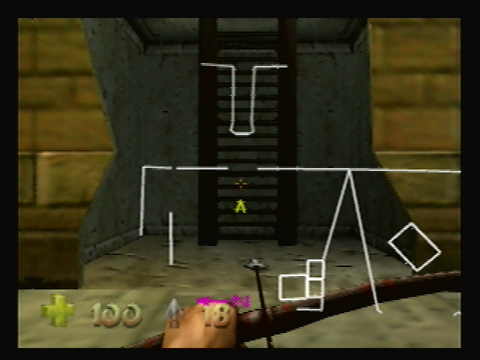
In order to make it to the top of the building, you need to take the ladder. To get the ladder to fall down, you need to activate each of the switches in the building. The first switch will be near where you just picked up the ammo/arrows. Just go inside the building there and you'll see it. You'll also see a minor health difference.
6 health in the demo and 4 in the final version.
Head around the other side of the building and enter there. Kill the Endtrail and hit the last switch. You'll now be able to go up top. Once you get up top you'll see an explosion and you'll get attacked by an Endtrail. Kill him. This spot has a key to it.
Of course there are no keys in the demo. Oddly enough, the final version has that extra 2 health up here. It's also exactly one floor above where it could've gone to fit neatly in a line with the other health. Don't tell me Acclaim screwed up again...
Like I said, this is a really short area. There's a switch up top that will reveal where the teleporter below is. Of course, hit the switch and take the teleporter. Your life force is up to 356 in the demo, and continues to be at 578 in the final version.
This is the last area of level one, the Battlements. It's quite long. By now all the objectives will be complete and there are just two keys left. There's some major sniping coming up.
From the spot where you start, you're going to want to go forward a bit and slowly edge around that corner. There's two Endtrails to your left that need to be killed. Once dead go for the switch that's in the corner. It will open up two doors. The first door reveals different ammo.
It's an ammo respawning spot in the final version, and a Pistol with 2 clips in the demo. That door in front of you will open later, but for now you need to go through that second door that was opened from the switch.
As you enter the next area you'll be killing two Raptors, an Endtrail, and a Raptoid that's patrolling the area. You'll find the last Save Point in the level as well. As expected this Save Point will not work in the demo. The floor is at least working and entering it does give you the "Save Point" text. It seems it was only the very first Save Point that was acting a little screwy.
Continue on the path that's next to the Save Point. When you pick up the Tek Arrows, you'll know you've reached the sniping point. There's going to be plenty of Endtrails off in the distance that'll you need to kill. If you pop out too much, they'll see you and start shooting. You're going to have to carefully peek around corners, preferably while crouching, and shoot the Endtrail in the head. You'll also have to be careful not to fall off anywhere. This is the hardest point of level and is likely the spot where you may lose a life.
There will be two paths each leading to something. The right is where to you will need to progress and has two Endtrails to kill. The left leads to something different between versions.
10 health in the final version, and 3 Tek Arrows in the demo.
I'm not going to be talking about the whole sniping area. It's very straightforward, and I didn't find any differences besides the one above. Here's what you find when you finish the sniping area.
5 Tek Arrows in the final version and nothing in the demo. As you go past the arrow spot you'll hear a door open below. Before you jump down there's another change here.
Both the left and right side of this platform will have something different in the corner. In the demo it's 3 Tek Arrows, in the final version it's 10 health.
Right below you will be a tunnel that leads to life force. This tunnel takes you back pretty well where you started the Battlements. It's where the respawning ammo was in the final version and Pistol with 2 clips in the demo. Since this spot connects you won't have to go through the boring sniping part when you come back to this level. The life force that was in this tunnel is different.
5 red life force in the final version, 5 gold life force in the demo.
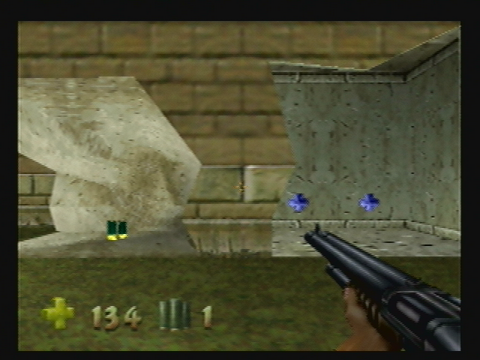
Collect that life force and turn back around. This big new area will have some health and ammo around. There's also two ladders to the the right, and a single one going up on the left. Go for that left one first as it leads you to a switch. That switch reveals a hidden path which will take you to the 5th key. Of course the key is missing in the demo. Next to the key is an ammo difference.
The final version has another ammo respawning spot as well as a health respawning spot. The demo will have 2 gold life force and a box of Shotgun shells.
When you're done here, go for the other pair of ladders mentioned. You'll be attacked by two Raptoids when you reach to top. Head downwards and you find some Compys' snacking on dead bodies that are only in the final version. There will be 5 Compys' instead of the usual 3 this time. Once all dead, activate the switch and head towards the lowered bridge. There will be a Shotgun to collect as well as 3 Raptoids and an Endtrail to kill. Continue on the path until you see the top of a ladder. The end of the level is getting near.
The demo will have its final Check Point here.
That makes a total of four Check Points.
This center part you're in will also have these extra doors that are only in the demo.
There's 7 of those doors as well! We'll find out later what's behind them.
At the very end of this area is the exit to the level, but hold off on that as there's still one more key to collect. Instead climb up top on one of the ladders. The key will be in that large building right across from you. That building is nothing but killing Endtrails, activating switches, going to a different part of the building, and doing the same thing over again. I didn't spot any differences with it so I'll be brief again.
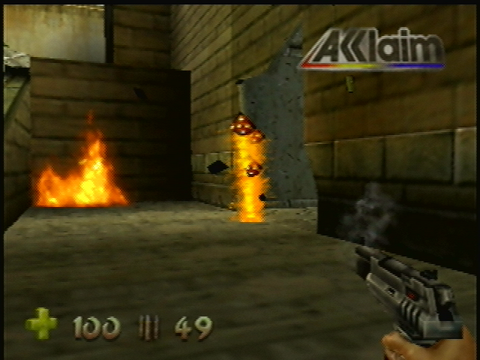
Collect the key up top and make sure you activate every switch. If you got every switch, a path directly across from this building will open. Go for that path, but don't forget the red life force in the fountain. You'll collect more life force as you move through that new area. When you get to the top, you'll find the biggest difference of the entire demo.
A warp portal in the final version, and a house in the demo!
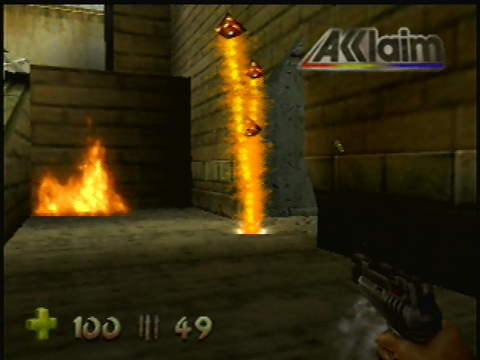
In the final version you'd need to activate the switch nearby. You'd then enter that portal thinking it's another talisman chamber. It's not though. It turns out to be a false portal created by Oblivion. A big battle will commence between you and the Oblivion. Defeating them unlocks a piece of the Nuke Weapon.
This is the switch to activate the portal.
There will also be 40 health right along this part in the final version and 50 in the demo.

In the demo, it's just a standard looking house with a switch inside. Absolutely nothing about Oblivion. There's 3 Shotgun shells and a Pistol clip outside the house, both of which are absent from the final version.
If playing the final version, enter the warp portal. You'll get a cutscene and then have to defeat 4 of the Oblivion. Beating them will get you piece 1 of 6 for the Nuke Weapon. You'll also get a cutscene with Adon explaining what the hell just happened.
When done, go back the way you came and drop down to the part where you fought a few Endtrails earlier. Do that as well in the demo; though activate that switch in the house first.
That switch from the house will have opened the left most door.
Inside is another switch. This will open the 6 remaining doors. An Endtrail will run out from one of them. Take him down.
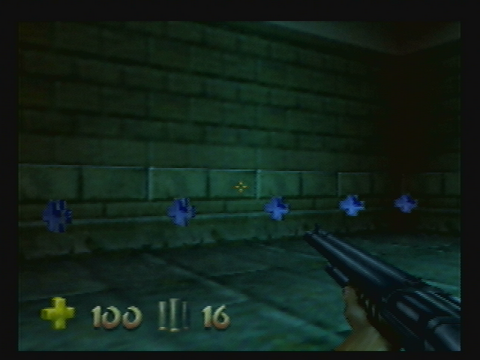
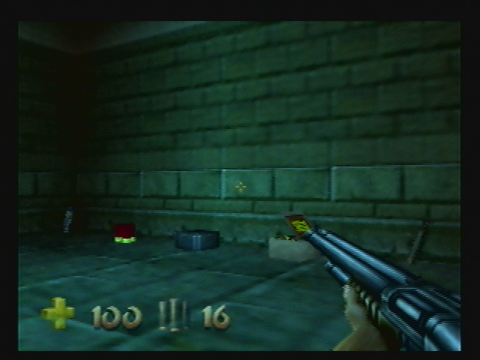
Behind the 6 doors will be ammo pick-ups in groups of 3. There will be red Shotgun shells, green Shotgun shells, Pistol clips, Tek Arrows, normal arrows, and 10 health as well. In the final version you get none of that.
Time to head for this levels exit. From the spot where these demo-exclusive doors are, head west. There's one more life force difference here.
4 red in the final version, and 4 gold in the demo version. Both versions have the full health. Your final totals for life force will be 779 in the final version and 478 in the demo. One hell of a difference. The difference is so high because the developers changed lots of the life force from gold to red, just to make things easier.
That door ahead of you is closed. There's two switches that are just to the left and right for it. Get that door open and kill the one final Endtrail here. He shall die to your Shotgun. Behind him is a major change.
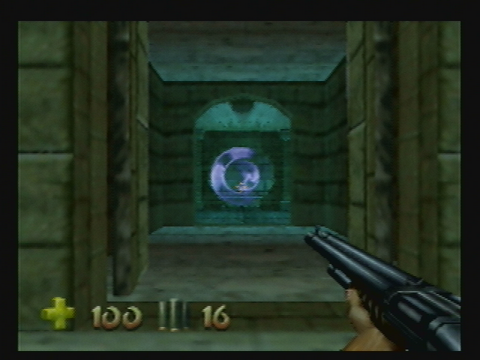
You'll see a warp portal straight ahead in the final version. It looks just like the one you saw in the opening cutscene. The demo just has a path going left.
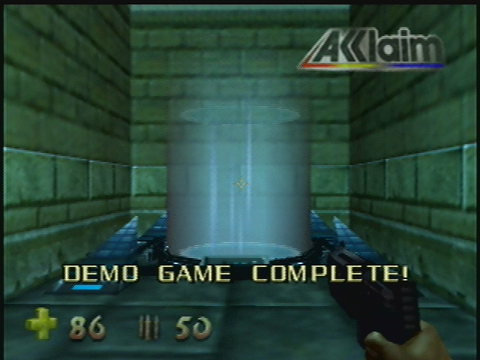
In the demo, as soon as you enter that room you'll get the text "Game Demo Complete!". The warp portal inside is just going to be the standard warp portal that you saw throughout the level. Entering it takes you to an earlier point in the level, usually the very beginning.
The demo concludes here. Thank you for playing!
The last room in the final version will instead have ammo and health. There's a total of 40 health, 3 red Shotgun shells, 10 green Shotgun shells, 40 Pistol bullets, 10 arrows, and 5 Tek Arrows. This was to replace those extra rooms that were taken out. Entering the portal will take you to the part where you defend the totem, as mentioned in the cutscene. You'd then be taken to the hub.
The first level in the final version of Turok 2 concludes here. You've got one hell of an awesome game ahead of you now.
Miscellaneous Changes
We're done the level, but there's a few odds and ends left to mention.
Check Points
I'd just like to take this moment to say those Check Points are completely useless. Whenever you die, you just appear at the last teleporter. That applies to both versions. Having Check Points in Turok 1 made sense because levels weren't divided up by teleporters so much. Check Points weren't useful at all in the demo and it's likely Acclaim removed them shortly after this build was completed.
Climbing Down Ladders
Believe it or not, you can't climb down ladders in the demo! You go climb up, left, or right, just not down. The reason why Acclaim forgot this is because nobody climbs down ladders in Turok, you just jump down.
Control Stick Sensitivity
The analog stick is a lot more sensitive in the demo. It's actually too high as you'll find yourself missing targets a lot. There's options you can change for the vertical control sensitivity and horizontal control sensitivity, but only the horizontal choice actually works. No matter what level of sensitivity you put the vertical option, it won't change. The final version has lowered the sensitivity and it's much easier to aim your weapon because of it. By the way, don't take this paragraph out of context.
D-Pad Differences
In the final version of Turok 2, hitting down on the D-Pad makes Turok crouch, hitting right makes Turok snipe, hitting left switches to your secondary weapon, and hitting up will switch the type of ammo. Some of those features can only be done with some weapons such as the Tek Bow. The demo didn't have a couple of those features yet. Hitting left, up or right will all make Turok snipe. Each weapon was a primary with no secondary weapons, and switching ammo wasn't possible with that button yet.
Death Cutscenes
Well, the death cutscenes are pretty well non-existent in the demo. When dying in the demo, you just fall to the side and appear at the last teleporter. In the final version you get a cutscene of Turok falling down dead followed by him being brought back to life in the hub area. He also would then start again at the last teleporter.
Demo Cutscene
By demo cutscene, I mean the cutscene that plays when no one is playing. The final version of Turok 2 will show several exciting scenes from levels while the demo just repeats the first half of the opening cutscene.
Explosions
I really have no idea how to describe the explosions. Let's just say they look a hell of a lot better in the final version. The explosions in the demo version all look like flying dice are coming out! The final version axed the dice and went for something more realistic.
Fire Hurts
Normally you can walk through fire as much as possible. In the demo you actually take damage from walking through fire. It's only one health at a time though.
Friendly Fire
In the demo, you can actually damage yourself with your own explosions. A Tek Arrow explosion is actually enough to kill yourself. Acclaim probably removed this just to make things easier for the player.
Jumping Grunts
Pressing the R-button makes Turok jump. In the demo Turok will grunt every single time you jump. It's cool but can be annoying if you're making quick jumps across platforms, or just jumping as you walk just for the hell of it. The final version keeps these grunts, but it only happens for some jumps. It's random for which ones.
Life Force Icon
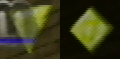
In Turok 1, the life force was triangle shaped. It was changed to diamond shaped for Turok 2. The demo still used the old icon.
Maps Tell All
In the original Turok game, hitting the L button would bring up a map. More and more of the map would be revealed to you as pushed through the level. This tradition carried on to Turok 2 as you see in the final version, but it hadn't been implemented in the demo. The demo just reveals the entire map to you at once.
PAL Gamers too!
A PAL version of the Turok 2 demo also exists. Both demos are almost the same. They have different product codes and only work on N64 consoles of that region. Otherwise they're the same.
Picking Up Life Force
This is a bit odd. When you pick up life force in the demo, the screen goes blue for a quarter of a second. It's the same colour blue you'd see when stepping into a teleporter. It does this in the final version as well, but it goes by much faster and is pretty unnoticeable.
Resetting automatically
The Turok 2 demo cartridge will automatically reset if you don't press any buttons on the controller for 60 seconds. This thankfully does not apply when you have the game paused. This demo was of course meant to be used in a store where the average person probably only played for a few minutes. Having the game reset would allow the next person to jump into the game and know what's going on. This resetting feature did make writing this article a little more difficult as there were couple times I forgot to pause the game!
Starting Points
The demo gave us several choices of starting points. The main menu listed Harbour, Shipyard, and Battlements. When you'd pick one, you'd still get the skippable cutscene, but you'd then start the game at that exact spot you picked. Harbour is the same starting spot as the final version. The spots above are where you start if you pick Shipyard or Battlements. Shipyard is only the 3rd area and Battlements is the very last. They didn't do a good job if these starting spots were supposed to be equally spaced out from each other.
Turok's Battle Cry
When you collect your 100th Life Force diamond, you'll get an extra life and Turok will shout "I AM TUROK!". This battle cry is absent from demo.
Official Website
Believe it or not, this Turok 2 demo actually had its own website. The website was made in late 1998 and stayed online until 2004 when it was shut down due to Acclaim going out of business. Luckily for us, the Web Archive preserved this website. It can be found here. Some pictures still work, and some do not. Also, some images have a dead thumbnail, but if you click the dead thumbnail you'll get taken to the working picture. The page claims that it's a walkthrough, but it's really just a hint guide.
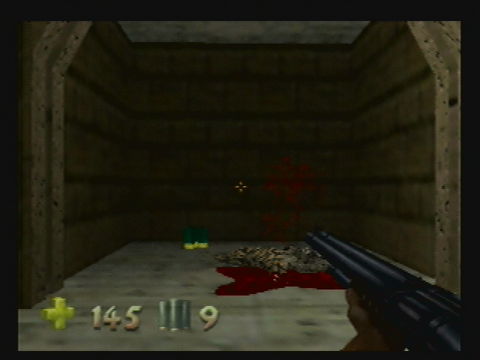
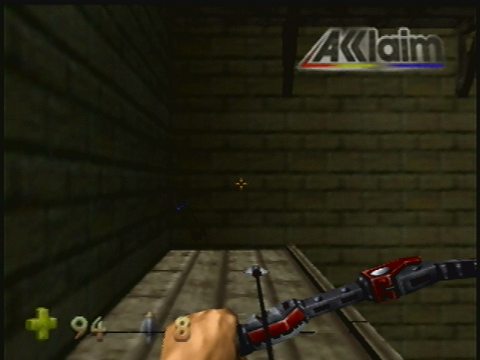
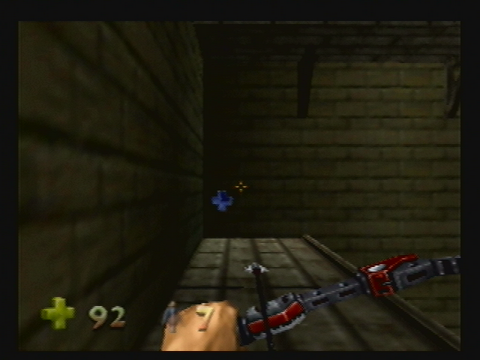
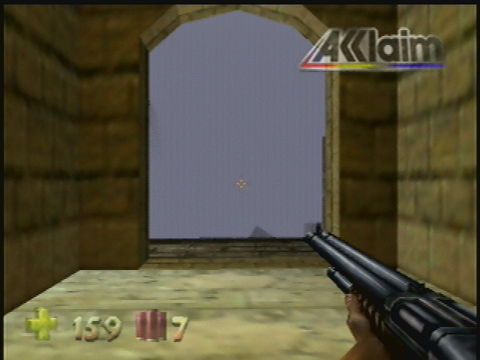
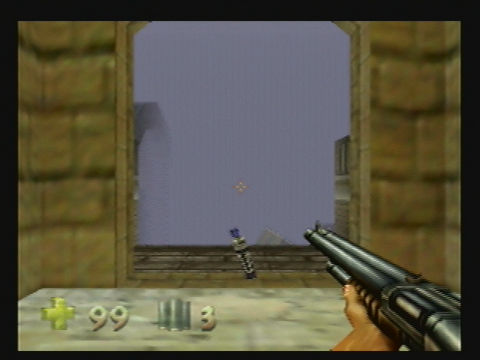
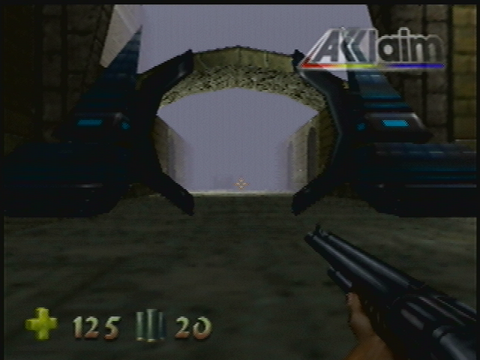
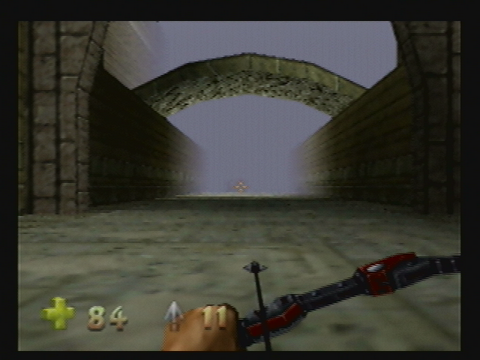
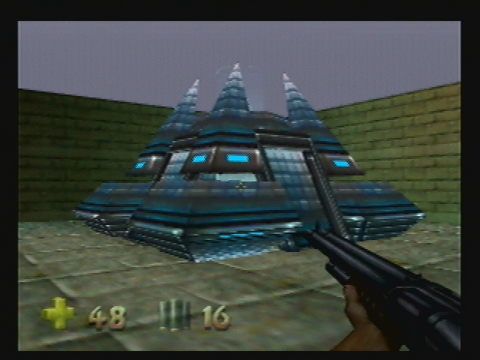
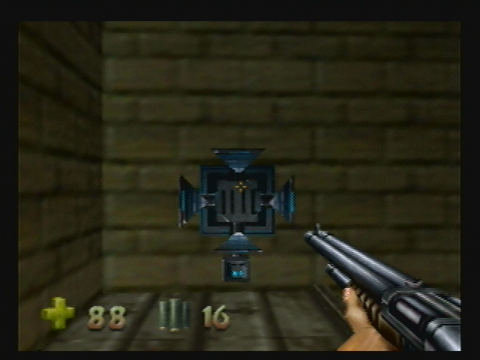
There's one major problem with this website. It raises more questions than it answers! Have a look at these 2 particular screenshots they used:
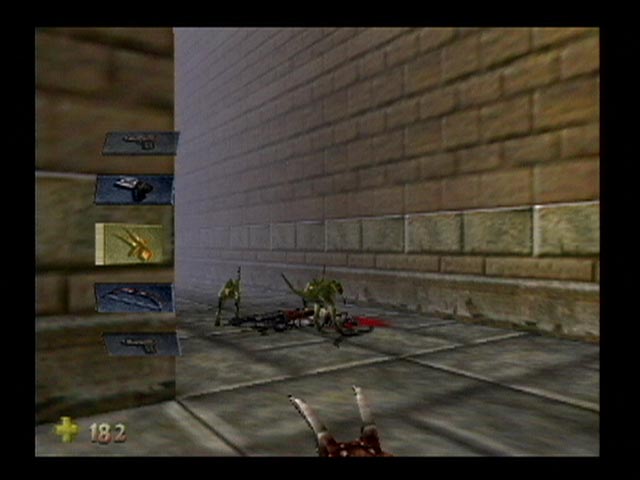
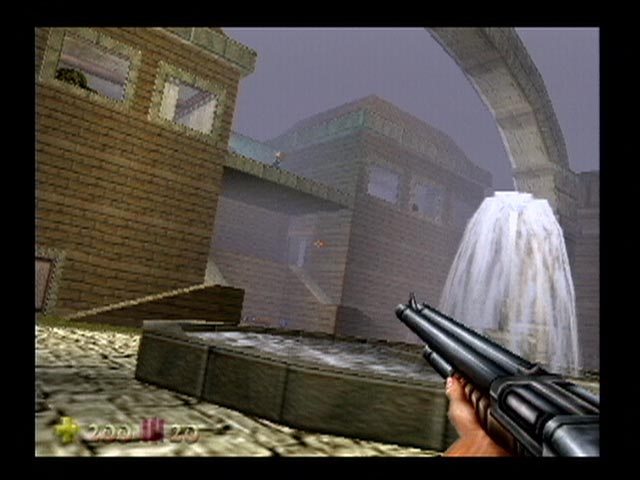
Where's the Acclaim watermark? It's not seen in any of the screenshots they used on that website. That first screenshot also shows a dead body with blood. The demo is supposed to be censored; I saw nothing like that when I played! You can tell by the weapon selection that it's definitely the demo. In the second screenshot, I'm pretty sure I can see a key on that pedestal. Again, it's not supposed to be there!
My only guess is that Acclaim is playing the exact same version of the demo, only it's before they actually turned it into a demo. By that I mean before they had limited access to some areas and removed stuff. There's one hole in this theory. This demo has a border that looks like the final version, not the much smaller border like in the demo I played. It looks like we have yet another unsolved mystery on our hands.
Conclusion
I realize this feature was very long, but you pulled through, hopefully. If you made it this far then thanks for reading. I would like to thank Acclaim for making the Turok games as well as this demo. I love exploring beta games and I wish I could do it more often. The amount of changes in this demo did almost make me crazy while trying to document them all, but I'm still here and I haven't lost my sanity. Yet. If you're looking to purchase a copy of this demo then I wish you luck. This cartridge is very expensive and only pops up for sale once or twice a year. You'll have to keep an eye on eBay and be prepared to spend a few hundred. I spent $280 on my copy. It's a lot of money, but I love Nintendo 64 that much. While the demo may be expensive, a final version of Turok 2 is not hard to find. It's such a great game and I recommend that every N64 gamer picks up a copy. The demo only has one level and that's what I compared to the final version. The final version still has 5 exciting levels waiting for you to explore them!
Thanks for reading!
Click here to go to the homepage.
Written by Kevin Ames
April 6 2013
|