Why didn't Nintendo think of this...
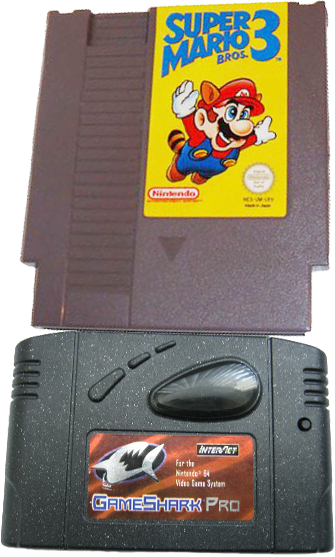
We here at Micro-64 have a great appreciation for the N64, but we have a place in our hearts for the NES as well, Nintendo's first home console in North America. The NES's Japanese counterpart, the Famicom, turned 30 this year (NES is 28). In commemoration, we found this curious NES emulator called Neon64. It allows you to play NES games on your Nintendo 64! What could be better? There's a few ways of running it on a real N64, but most people don't have ancient copier devices, and a modern flash cart is a bit too straight forward for what we have in mind. Have you been itching to do something with that Gameshark Pro you reflashed? Well now you can run Neon64 on it!
As crazy as it sounds, the Neon64 developer included instructions for running the emulator on a Gameshark Pro of all things. Here is the developer's website:
http://hcs.freeshell.org/neon64.cgi
Before we dive into Neon64 though, let us briefly review which Gameshark Pro cartridges are good and which are bad.
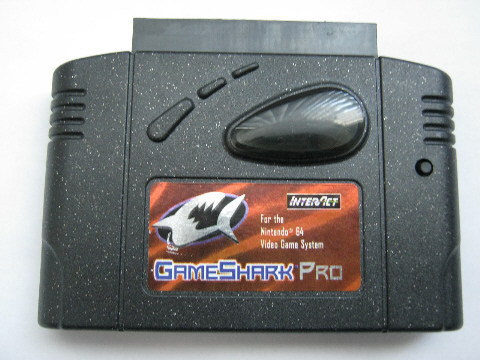
Sparkly v3.2 or v3.3 Gameshark Pro = GOOD
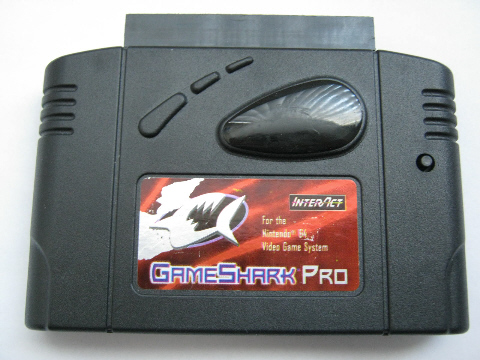
Non-sparkly v3.3 Gameshark Pro = BAD
Next, a list of what you'll need:
- Gameshark Pro with working parallel port
- Super Mario 64 cartridge (version 1.0)
- Expansion Pak (for the Gameshark Pro's Code Generator)
- Male to female printer / parallel / LPT cable
- IBM compatible Pentium-class PC or newer, with a parallel port
- Windows 95, 98, ME or 2000
- Neon64 (downloadable here)
- Game Software Code Creator 2002 (GSCC2k2) (downloadable here)
NOTE: This article assumes you are using an NTSC N64 and Gameshark Pro. The Neon64 readme has similar instructions for PAL users. For simplicity's sake, we are covering NTSC only.
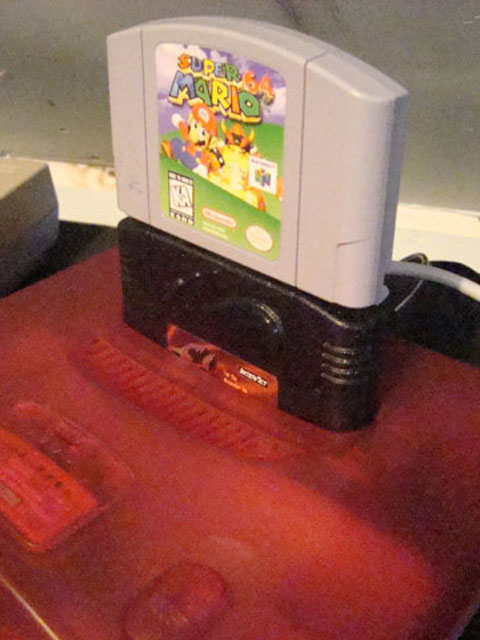
First, turn on your selected IBM compatible PC and set up the N64 hardware. Stack Super Mario 64 onto the Gameshark Pro, plug the Gameshark into the N64, plug the printer cable into the Gameshark and then into the computer. The N64 should look like this now:
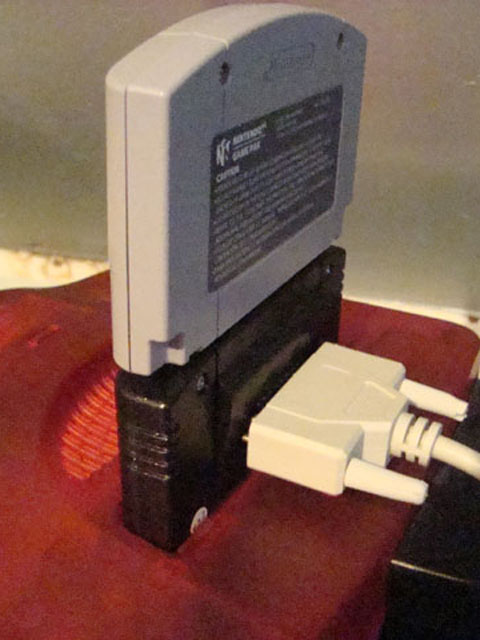
Go ahead and turn on the N64. The Gameshark Pro title screen and the little number display on the Gameshark cartridge should appear. If you get nothing, please consult our article on reflashing Gameshark cartridges.
Next, just simply select "Start Game", then select the code generator button to set it to "On" and then "start game without codes", as shown below:
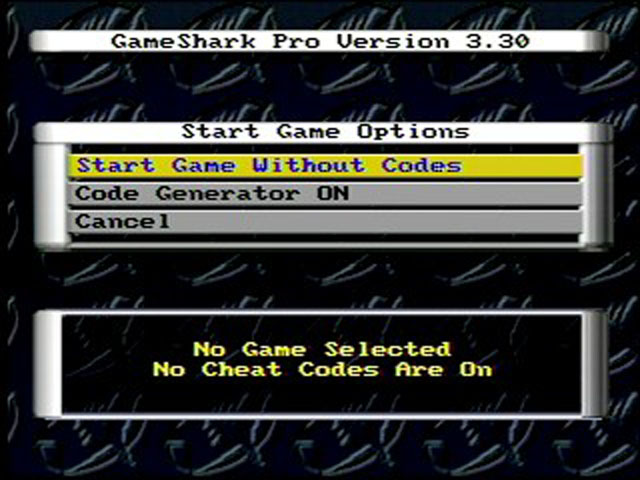
When Mario 64 appears, press start to get to the file select screen. Now just leave the game here, we will return to it in a bit.

This next step will require the PC now. Put GSCC 2k2 in a folder somewhere, like C drive, place the neon64gs.bin file (from the Neon64 zip file) in the same folder, then start up GSCC 2k2.
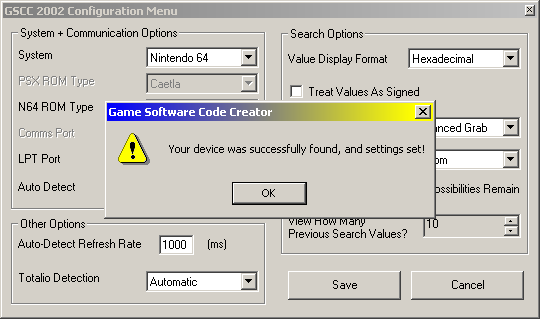
First thing that needs to be done is establish a connection between the PC and the Gameshark. Do this by clicking File on the GSCC toolbar, select Configuration, see that Nintendo 64 is selected in the system drop down box, then click the Auto Detect Settings button. A connection should be set up now, with GSCC reporting that the N64 has been detected. If not, make sure your printer cable is firmly connected to the Gameshark and PC.
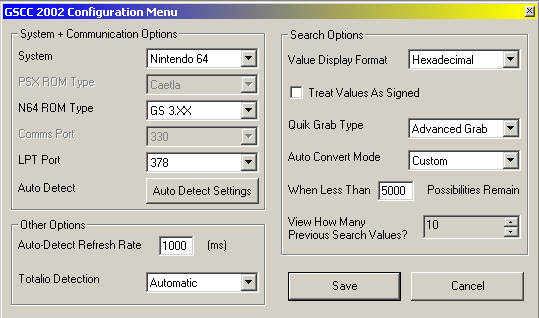
From here on, we will be delving into the Ram Edit window of GSCC. First, go to Ram Edit on the tool bar and select Open Window. Yes, all those bytes can be a bit daunting, but fear not, patching Neon64 into Super Mario 64 is very easy.

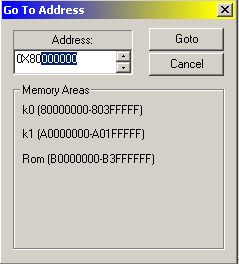
First we need to change a bit of code in Super Mario 64. Click the Goto Address button in the Ram Edit window. It will ask you for an address. Enter 0x80263844, and then click Goto. As you can see, only the last 6 digits are highlighted as "0x80" doesn't need to be edited, so just type 263844, couldn't be easier.
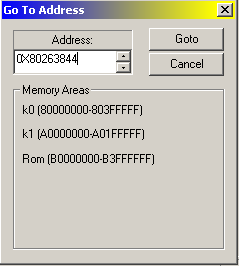
Next, you need to turn your attention to the big wall of numbers and letters. One of them should be highlighted now at address 80263840, at space 04 (follow the rows at the top). You should see these values, from space 04 to space 07:
85 CF 00 AE
NOTE: if you do not see the above values, you probably have a Version 1.1 or 1.2 Super Mario 64 cartridge. They haven't been tested so continue at your own risk.
Those four values are highlighted in the picture below.
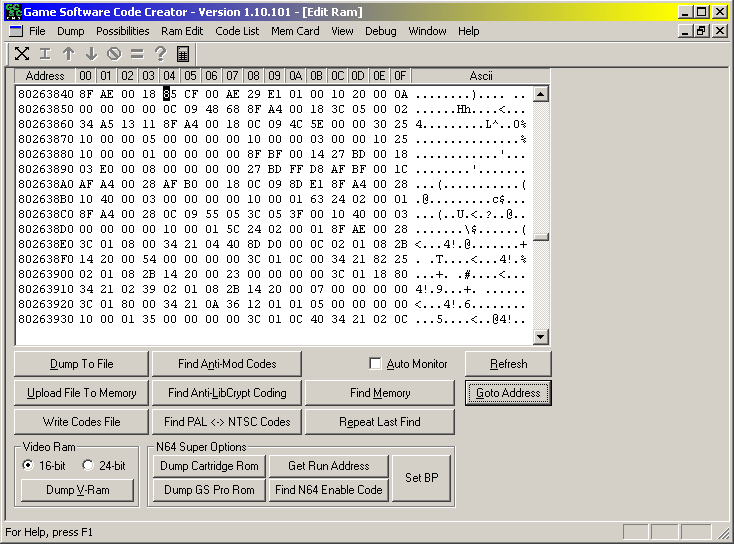
All you need to do here is click on 8, then type the following, no need to add spaces:
08 0C 00 00
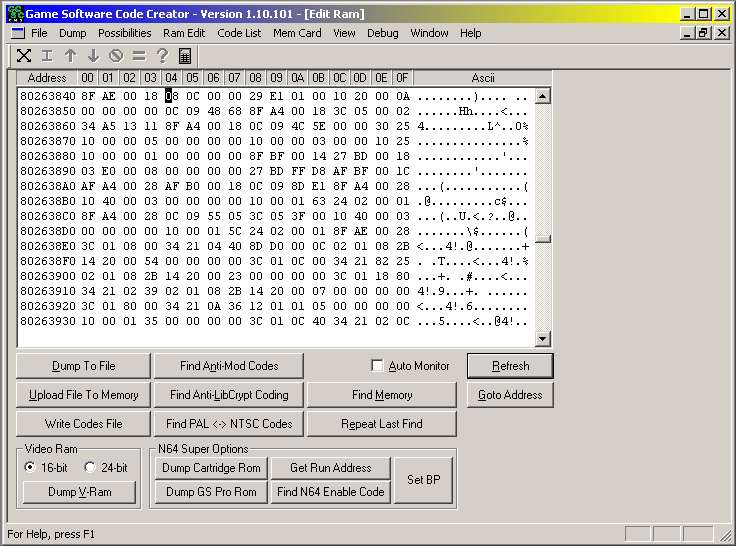
The hard part is over with now. All that's left is to upload the Neon64 binary file. Click the Upload File to Memory button. From there, select the neon64gs.bin file you put in the GSCC 2k2 folder, then enter 0x80300000 into the Address To Upload To box in the bottom right corner. If you find it any easier, type out 0x803, then add 5 zeroes on the end.

When the file has finished uploading to the Gameshark, all that's left now is to start up Neon64. Select a save file in Super Mario 64, and then watch the magic happen. (Don't freak out if the Mario 64 music stops playing while uploading, it's normal.)
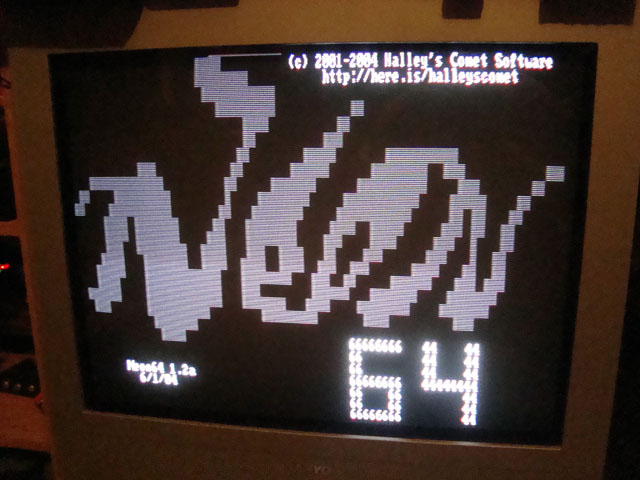
As cool as that is to see on a real N64, we need a game to play. Neon64 doesn't come with ROMs so you'll have to provide your own. Pick out your game (like Super Mario Bros.), change the .nes file extension to .bin so GSCC can recognize it, then put the ROM in the GSCC folder.
To upload the game ROM to Neon64, we simply repeat the process we did for uploading Neon64 itself. Click the Upload File to Memory button again, select your ROM and enter the address 0x80300000, but it should still be there from last time. Then just click the Open button and wait for the file to finish uploading.

Once it has, press any button on the N64 controller.
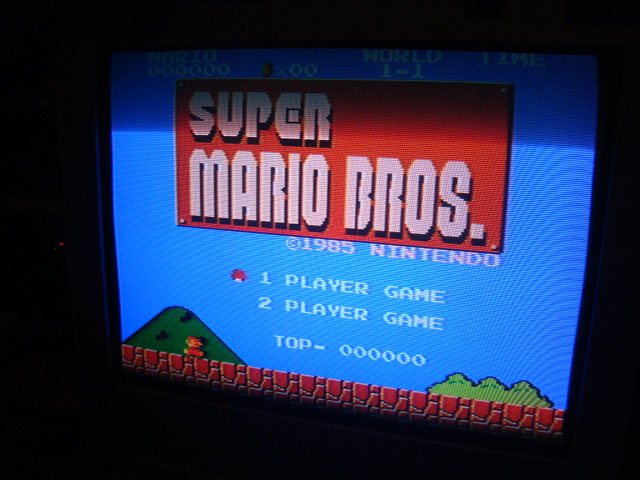

And there you go! NES on N64! Most games I've tried run pretty well, a bit of stuttering in fast scrolling games, but Neon64 seems to have good speed otherwise. The Neon64 readme file explains what mappers are supported, the button layout for N64 controllers, Neon64's various features and instructions for Gameshark usage like what is in this article, we just included pictures and broke down the steps into easier to digest forms. Feel free to look in the readme, we don't claim credit for inventing this procedure ourselves.
However, the readme doesn't explain that L Button + R Button brings up the in-game menu, where you can do things like reset the NES, load new ROM, save SRAM file and various other features. There aren't any savestates though sadly.
If you want to make use of that "load new ROM" option in the L + R menu, just select it and you will return to the Neon64 title screen. The last ROM you loaded is still in memory, so you could still press a button to play it. But, we want another game! Simply go back to GSCC and repeat the steps for uploading a ROM, but select your new ROM file this time.
In case you don't particularly enjoy having your N64 constantly tethered to the PC while playing NES, you can disconnect the printer cable once a ROM is loaded, the Neon64 readme file says the emulator stops communication during this time. When you want to play a new game, just plug the cable back in and, if you closed GSCC, just open the configuration window to connect the PC to the N64, then upload a file to memory in the RAM Edit window like we have done so a few times now.
In conclusion, if you ever wanted to run NES games on your N64 without having to shell out big bucks for a Tristar adapter, Neon64 is just the ticket! It also works on various N64 copiers like the CD64 or Dr. V64, and should work on modern flash carts like the 64Drive and Everdrive 64. It's the Gameshark Pro method that struck us as the most exotic option of them all and we just had to share it. Now the Gameshark can play NES games AND enable infinite jumping in Super Smash Bros. for air battles.
Written by Aaron Wilcott
October 27 2013
|