|
Out of the 3 patching programs we have hosted here, WinAps is probably the least user-friendly. That's certainly not saying much though as all 3 are incredibly easy to use. Like with the other turorials you're going to need 3 things: The patch, the patching tool, and your N64 ROM. The first two can be downloaded right from our Patches Page. The ROM can be downloaded from your favourite ROM website. WinAps specifically does not like .n64 ROMs so make sure you download something more standard like .z64. For this tutorial we'll be patching Jet Force Gemini with the NTSC crack.
Once you've acquired all 3 of the necessary downloads and extracted them, run WinAps. After its splash screen, you should get something that looks like this:
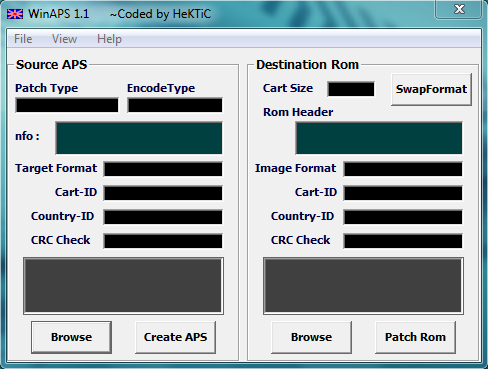
As you can see, the left side is for patches and the right side for the ROMs.
On the APS side, click Browse. Then select the name of the folder where the patch is in. You're simply selecting the folder it's in; the actual patch won't appear there. Once you've specified the folder it's in, the gray box right above Browse will list all the APS patches that were in that folder. Select the correct one that you need.
Now we want to do the same with the ROM side. Hit Browse, find the folder the ROM is in and select it. Then in the above grey box the ROM will appear which you will have to click. If the ROM didn't appear, then it probably has a .n64 extension. .z64 is the one you want.
When you've done all of the above, the program should be nicely filled out like this:
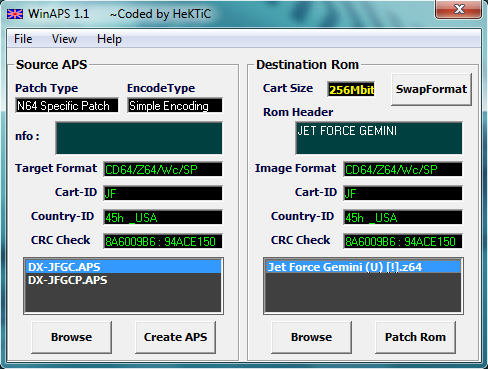
Now click Patch Rom located in the bottom right. When WinAps is done, your ROM will be updated with the patch. Go to the location where the ROM was and you'll find it updated as well as with a .Bak file. That's just a backup file; you can go ahead and toss that in the recycle bin. Now add the ROM to your SD card and enjoy your patched game!
Written by Kevin Ames
February 3 2014
|